Fabric & colour
Share colours, textures or reference images so your advisor can review available options.
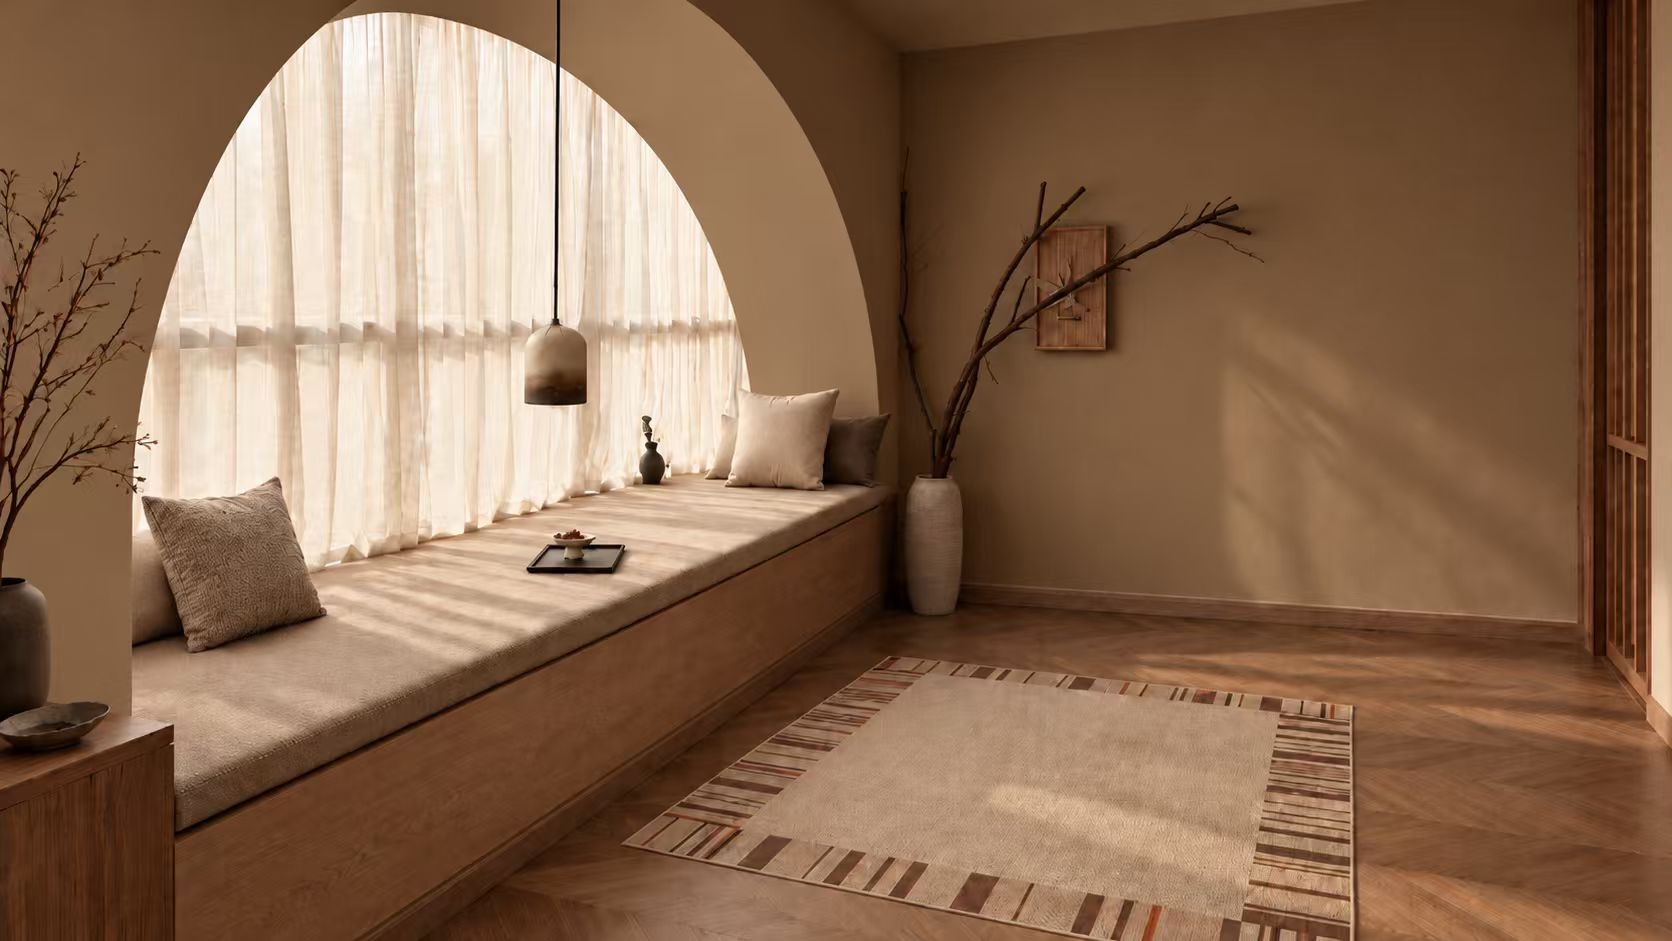
WINDOW RETREAT CUSHION
Begin with your seat dimensions and everyday needs to explore a cushion made for your corner.
01 / EVERYDAY MOMENTS
A book, a cup of tea, or a moment to yourself. Start with how you would like to spend time here, then consider the seat, fabric and surrounding space together.
WINDOW SEATS & EVERYDAY CORNERS
Explore cushions on window seats and benches with backrests. Confirm dimensions, fabric and construction around your own space.
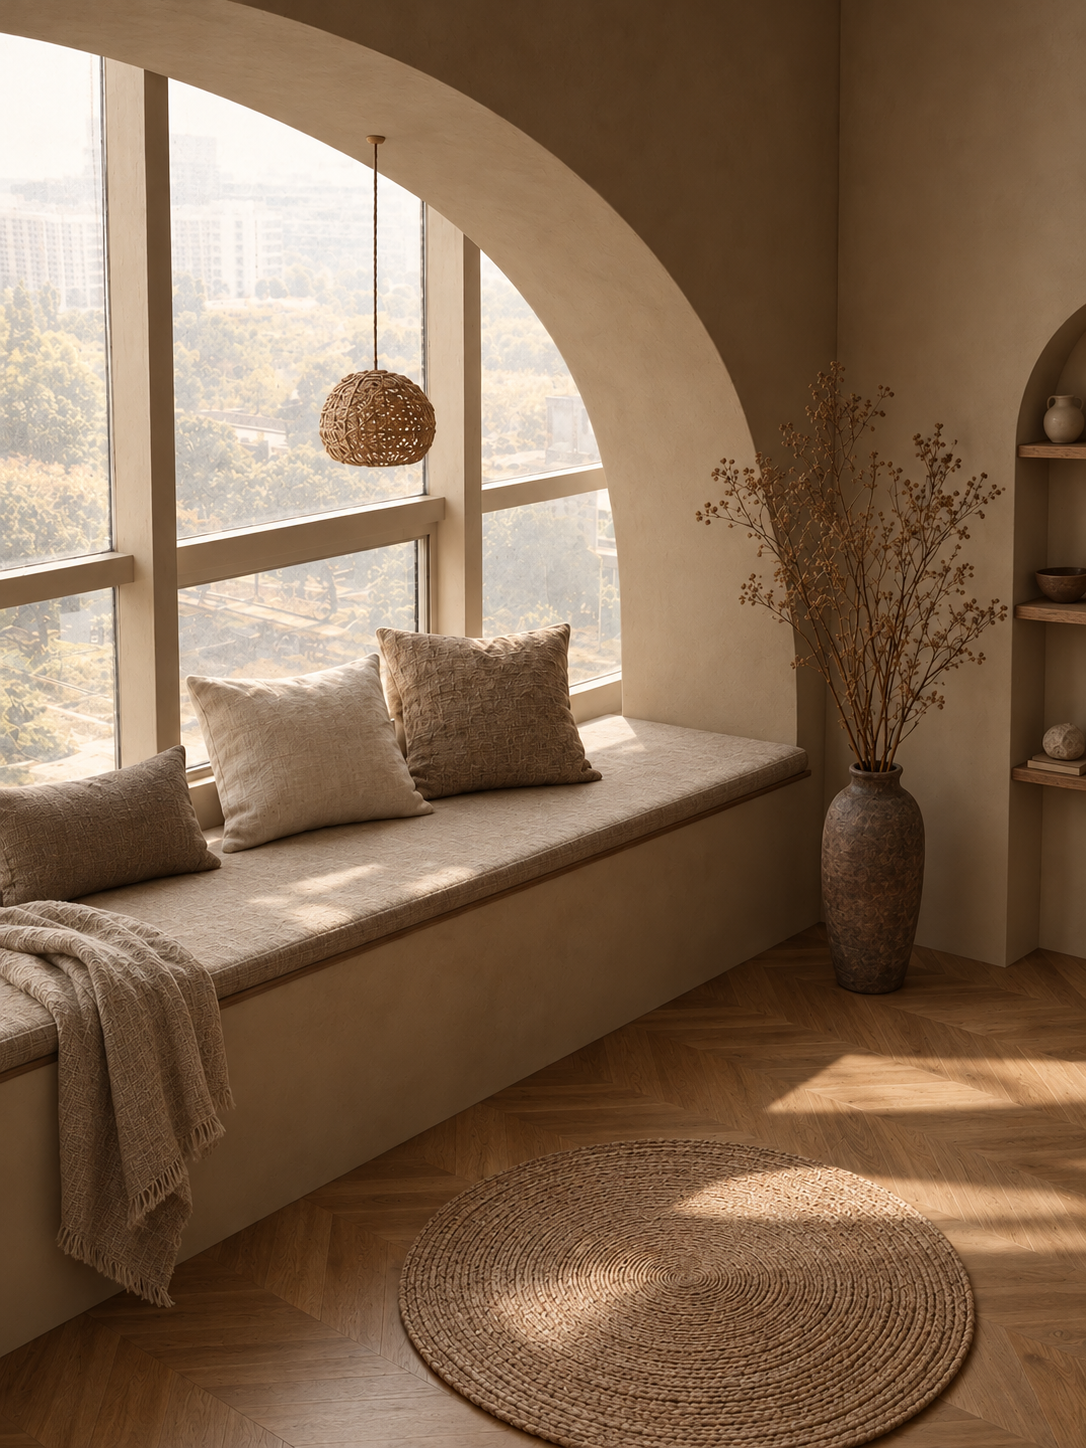
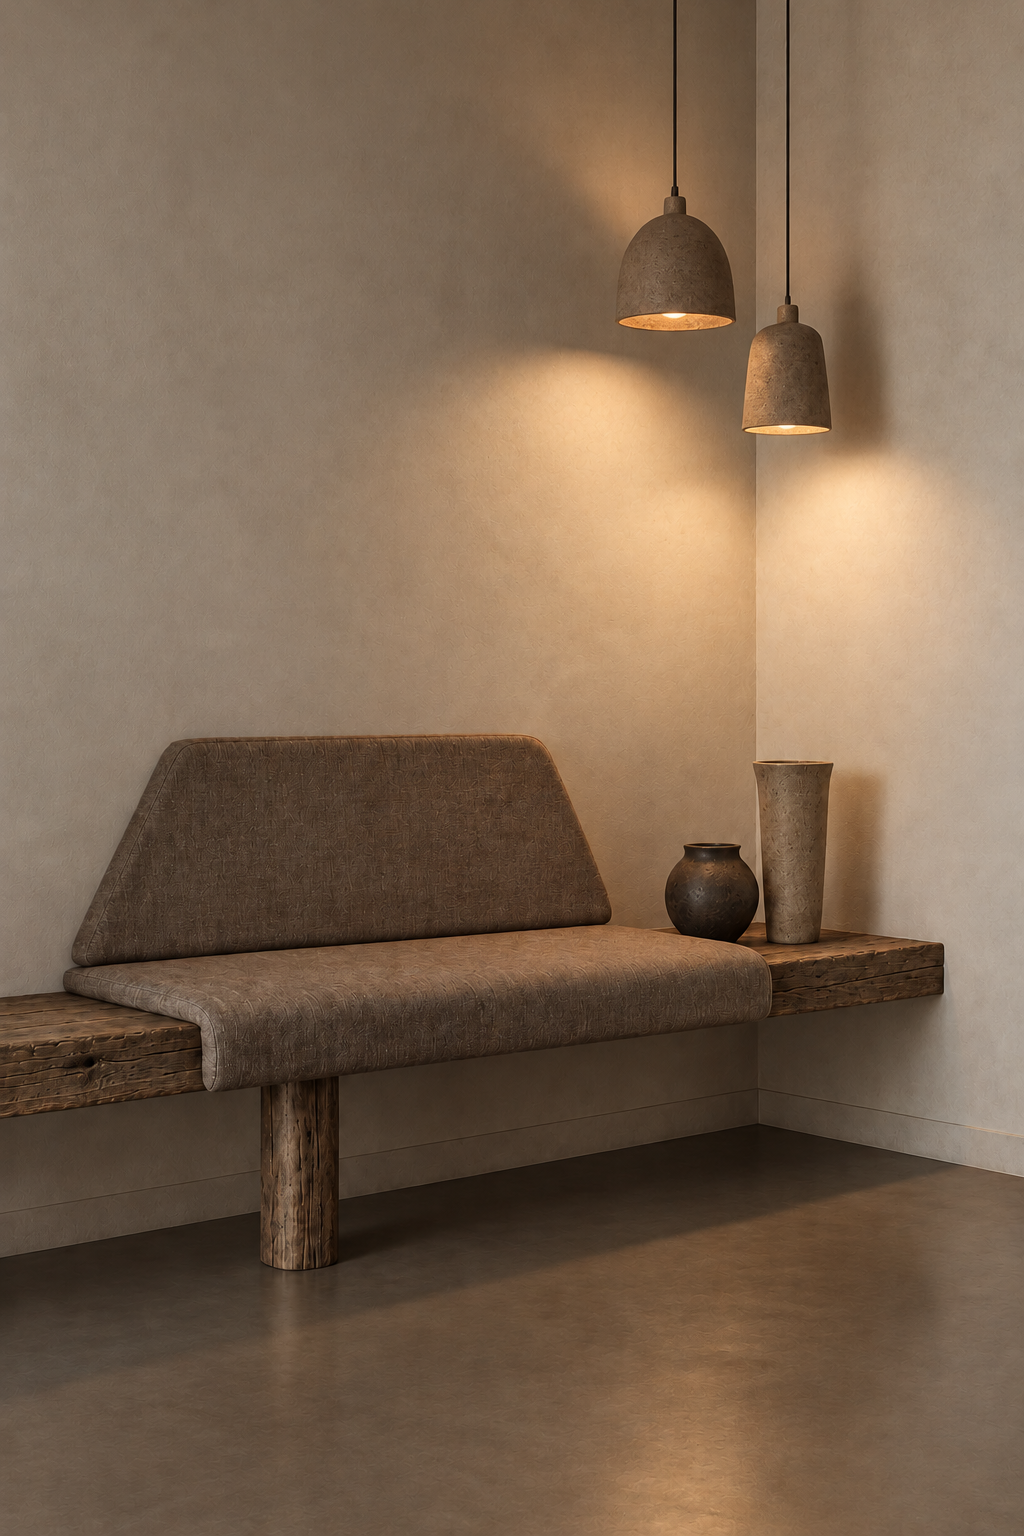
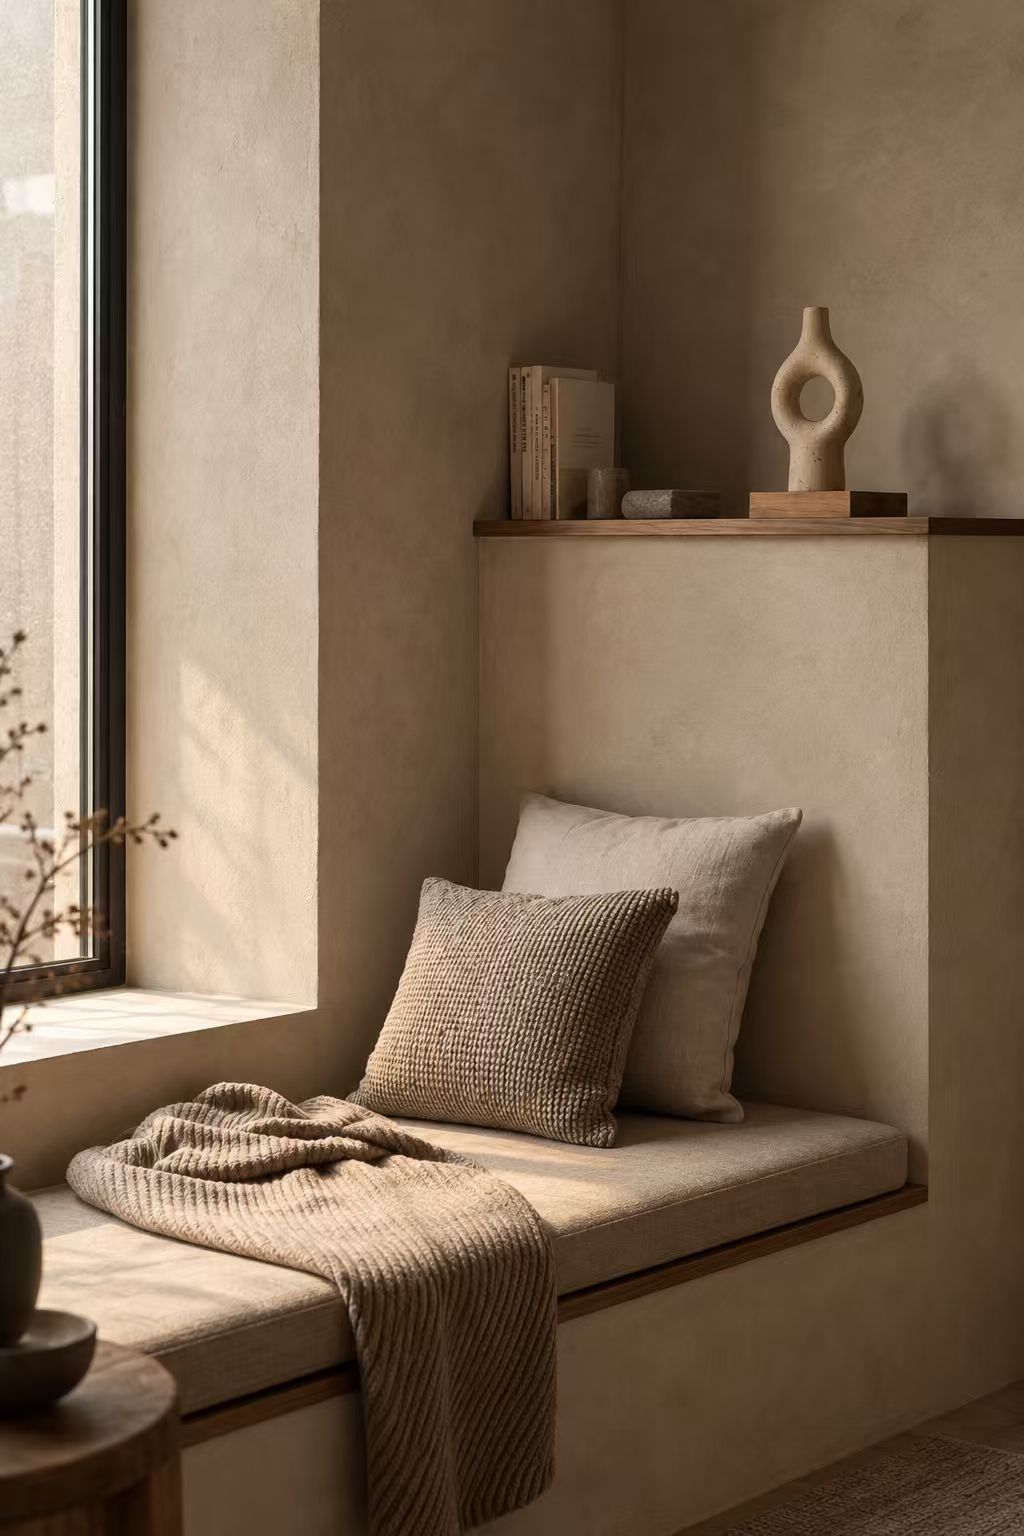
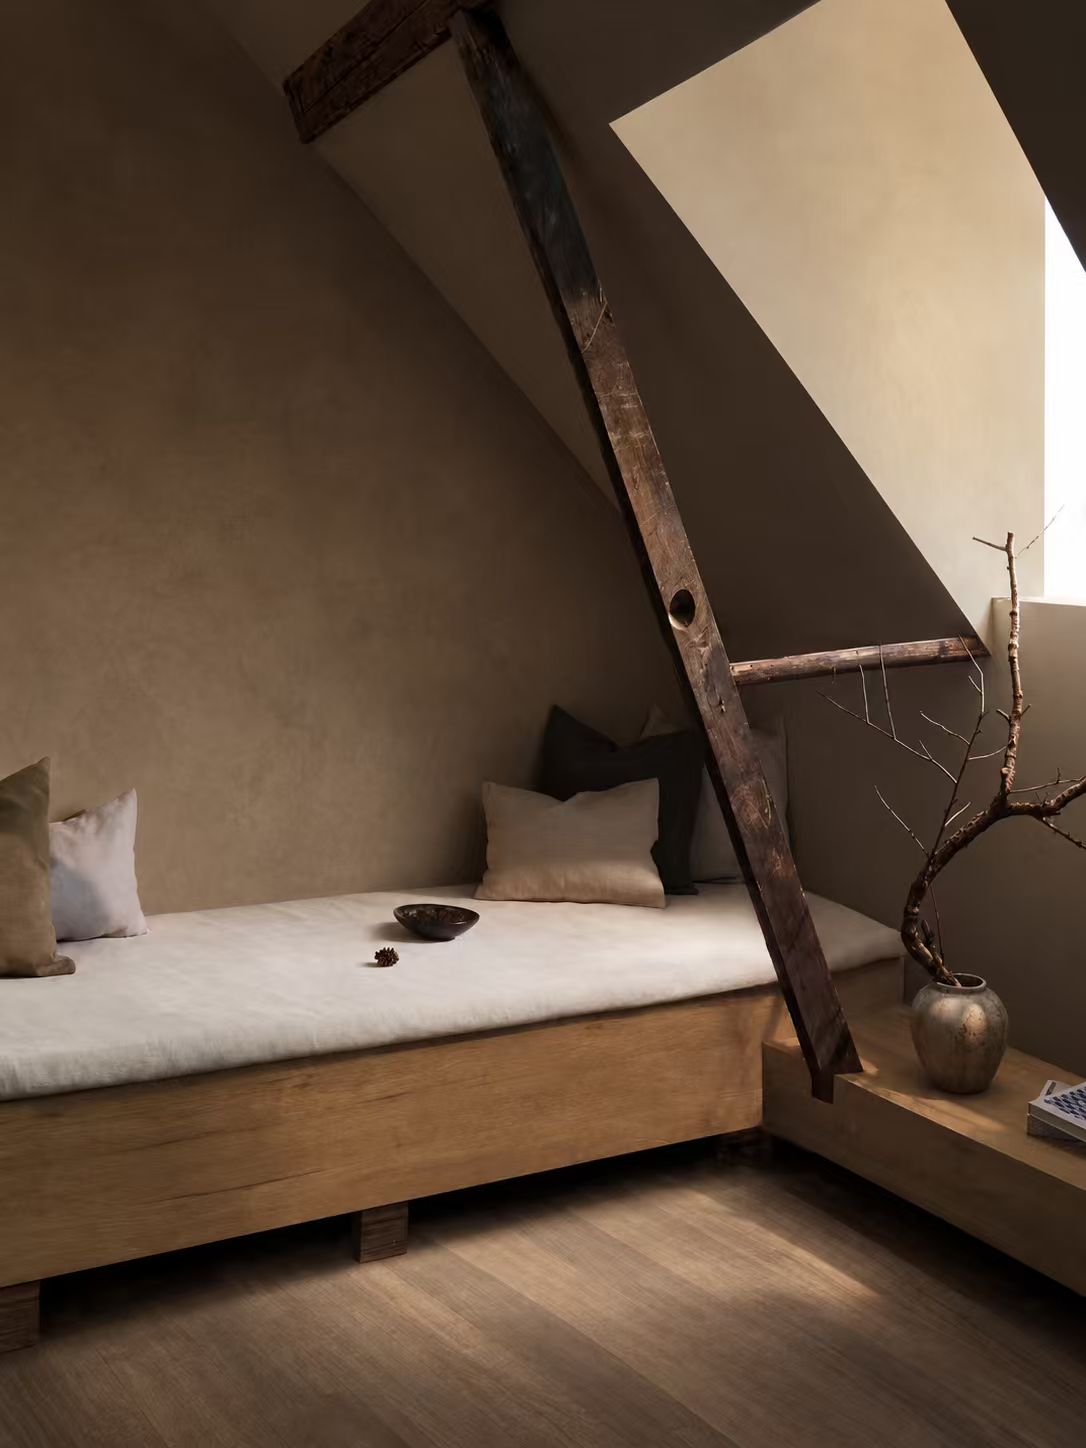
Styling images show possible combinations. Furniture and accessories are not necessarily included. Custom specifications follow the order plan confirmed with your advisor.
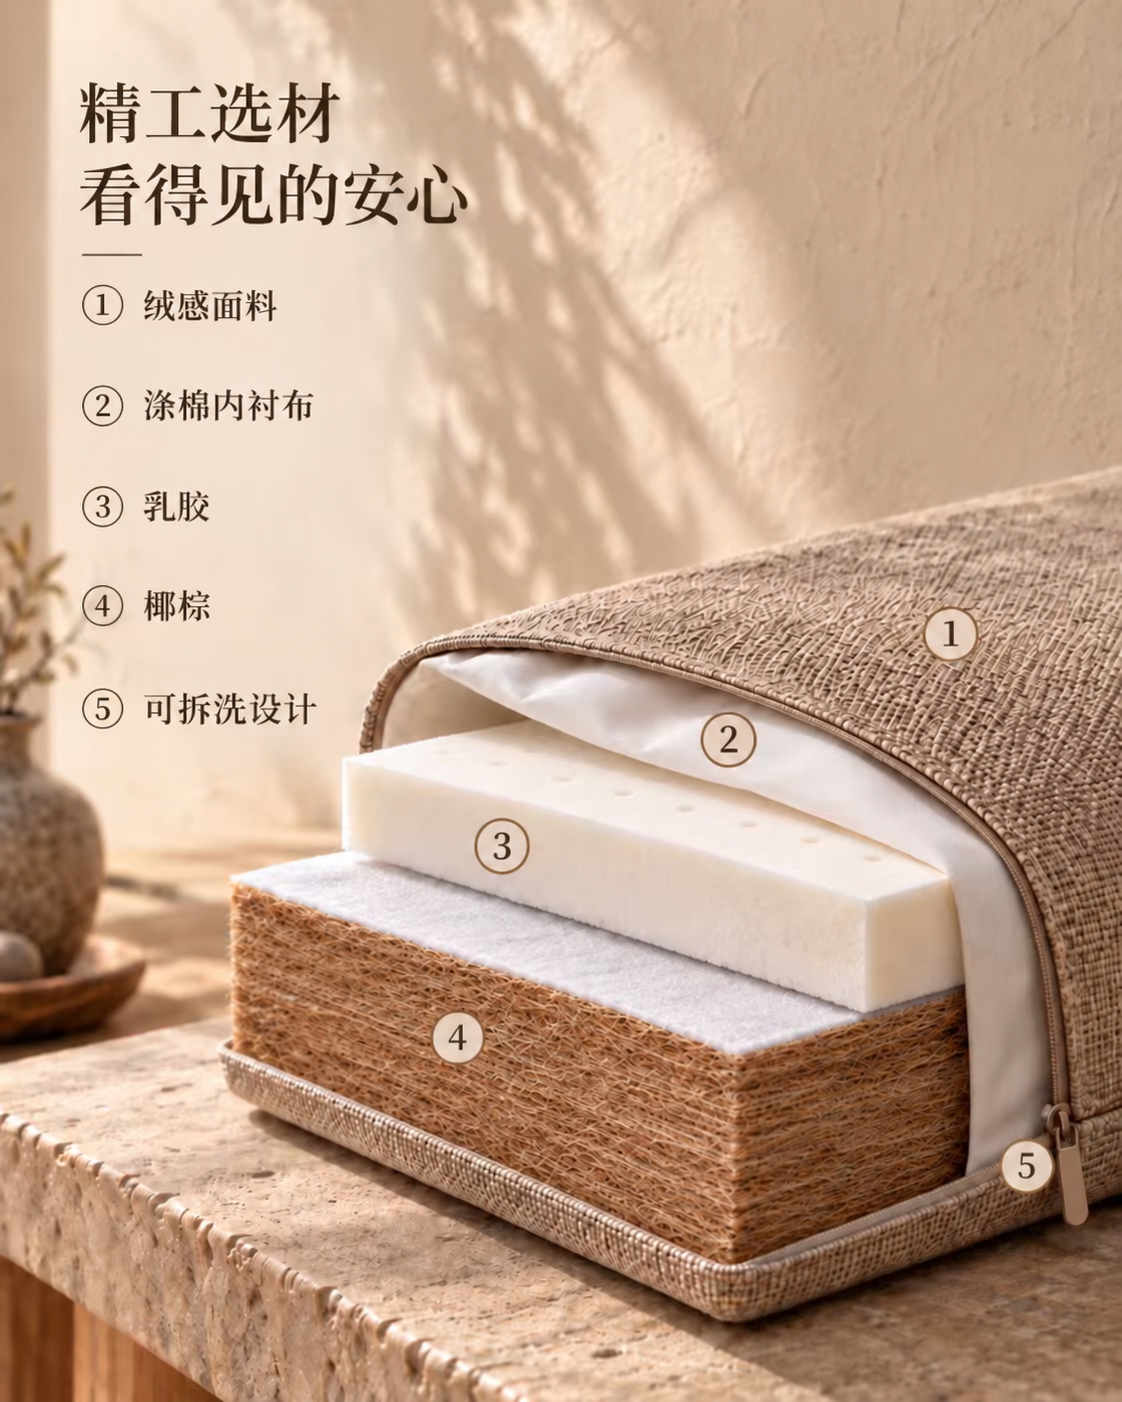
02 / CONSIDERED DETAILS
Discuss fabric, filling and thickness around your needs. The illustrated layers show one possible construction, rather than a specification shared by every order.
Share colours, textures or reference images so your advisor can review available options.
Describe your preferred feel and thickness, then confirm the configuration with your advisor.
Confirm edging, zippers and removable covers individually as part of your order.
03 / MADE AROUND YOU
Share space photos, your city and how you would like to use the seat.
Include your measurements and units; mark uncertain dimensions for review.
Review fabric, filling, thickness, details, price and delivery arrangements together.
Production follows the confirmed order plan and agreed arrangements.
Review packing and transport arrangements as agreed once production is complete.
04 / MEASURE WITH CLARITY
Measure the full available seat without adding your own allowance, then discuss cushion thickness and any backrest. Site measurements are the starting information; finished cushion dimensions require separate confirmation with your advisor.
Not to scale. L and D describe the available seat. T and B are preferences to be confirmed.
SHAPE BY SHAPE
Choose the diagram that matches your actual seat, including its orientation. Measure each segment in full without adding allowance. Record its reference code and every numbered dimension. Numbers identify segments or reference spans, not centimetres.
Record each numbered edge and span separately, including short edges and recess depth. Keep the reference orientation. Do not assume opposite edges match or derive unmeasured values. Dashed lines are reference spans, not necessarily cuts or seams.
For A4, record the numbered straight dimensions and the dashed horizontal / vertical reference spans. These do not fully define the curve. Send close-up photos; your advisor will confirm any template, radius or extra measurements needed.
For D3, send the overall layout plus the dimensions of each intended piece. Clarify which numbers describe a piece versus an overall span. Confirm joins, quantity and orientation with your advisor before production.
Shape code: B1 (attach the selected diagram)
View / orientation: top view, window side marked
Units: cm
1 = ____; 2 = ____; 3 = ____
4 = ____; 5 = ____; 6 = ____
Preferred thickness T: ____ / please advise
Backrest: ____
Attach: labelled seat photos and sketch
Uncertain numbers: ____ (for advisor review)
The six fields above are a B1 example. Use all numbers shown on your selected diagram; A4 extends to 12. If no outline matches, contact your advisor separately and send site photos for measuring guidance.
Match your seat to a diagram below and measure every numbered segment in full. If no diagram matches, contact your advisor separately with overall and detail photos for measuring guidance.
BEFORE PRODUCTION
Measure the full actual seat dimensions without deductions or extra allowance. Submit every numbered measurement for review. Finished dimensions, pieces and joins follow the order plan confirmed with your advisor.
Seat shape: rectangle / corner / other (attach sketch)
Site length L: ____ cm (front) / ____ cm (rear)
Site depth D: ____ cm (left) / ____ cm (right)
Preferred thickness T: ____ cm / please advise
Existing seat height H: ____ cm
Backrest needed: ____; preferred dimensions and reference point: ____
Obstructions and opening parts: ____ (attach photos)
Uncertain measurements for review: ____
Discuss your measurements
Not measured yet? Mark dimensions “to be confirmed with advisor” and attach space photos.
A FEW THINGS TO KNOW
Your quote depends on the confirmed dimensions, fabric, filling, construction and delivery requirements.
Production and transport arrangements are discussed when confirming the plan; there is no fixed lead time for every order.
Prepare space photos first. Mark uncertain dimensions as “to be confirmed with advisor” in the form.
The form starts an inquiry. Configuration, price and order arrangements require further confirmation together.
LET’S BEGIN WITH YOUR CORNER
Bring your space photos, existing dimensions and ideas to begin the conversation.
Discuss your custom cushionOpens a Feishu inquiry form in a new tabAn inquiry is not an order. Your advisor will confirm the plan and quote.